Baby O isn’t technically my niece, but it’s easiest to just say she is, plus she looks like me. I love that baby with all my heart and with her only being 4 months old she needed help with her mom’s first ever Mother’s Day present! I knew exactly what to do for sweet baby O. I decided we would make a canvas picture, by we I mean me. I looked on Pinterest for some tutorials but they didn’t work out quite how I wanted so I did my own thing. I know this is late for Mother’s Day but you can use this tutorial for a birthday, wedding present, house warming present, really anything depending on what picture you use. Here’s what you need:
- A canvas. Any size you want, I used an 8×10
- A quality picture print in the same size as the canvas
- Mod Podge Matte
- A foam brush
Optional:
- Black paint
- Gold push pins
- Here’s the picture I wanted to use. I took it when I was having a date with baby O one day. Those are my favorite of days! My chunky muffin! I got a print made at Walgreens because I tried normal computer paper, smudged.

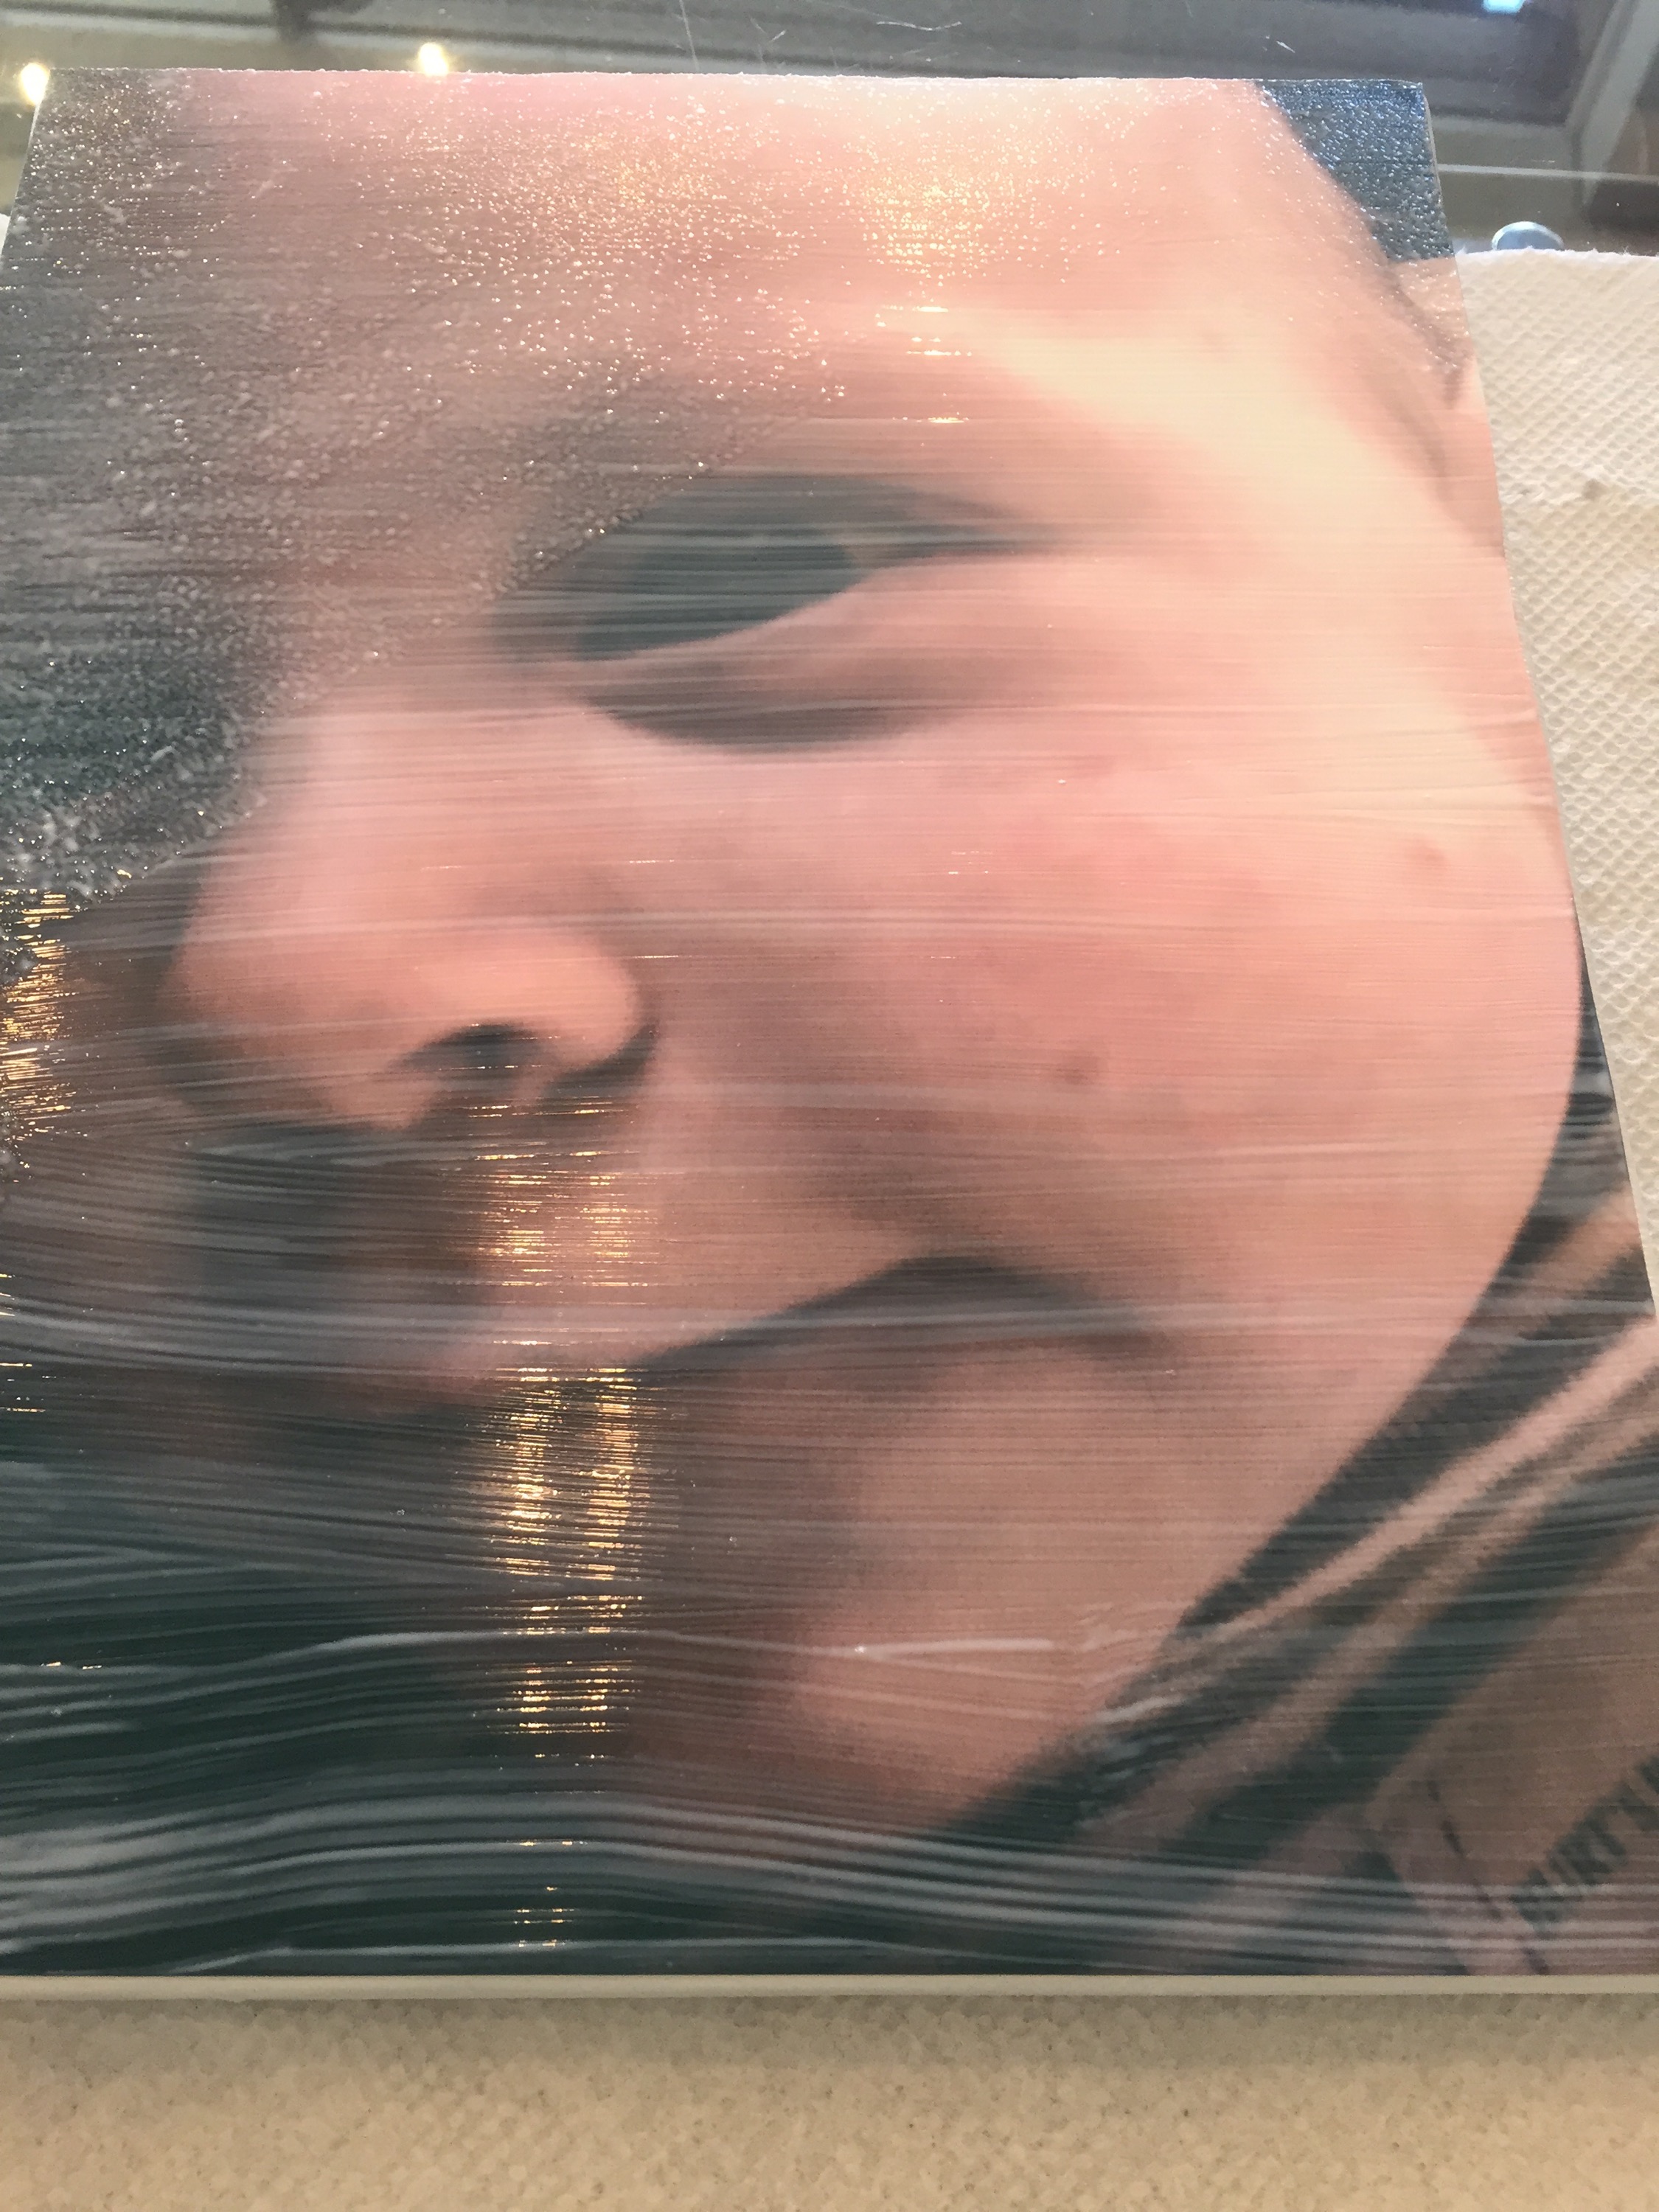
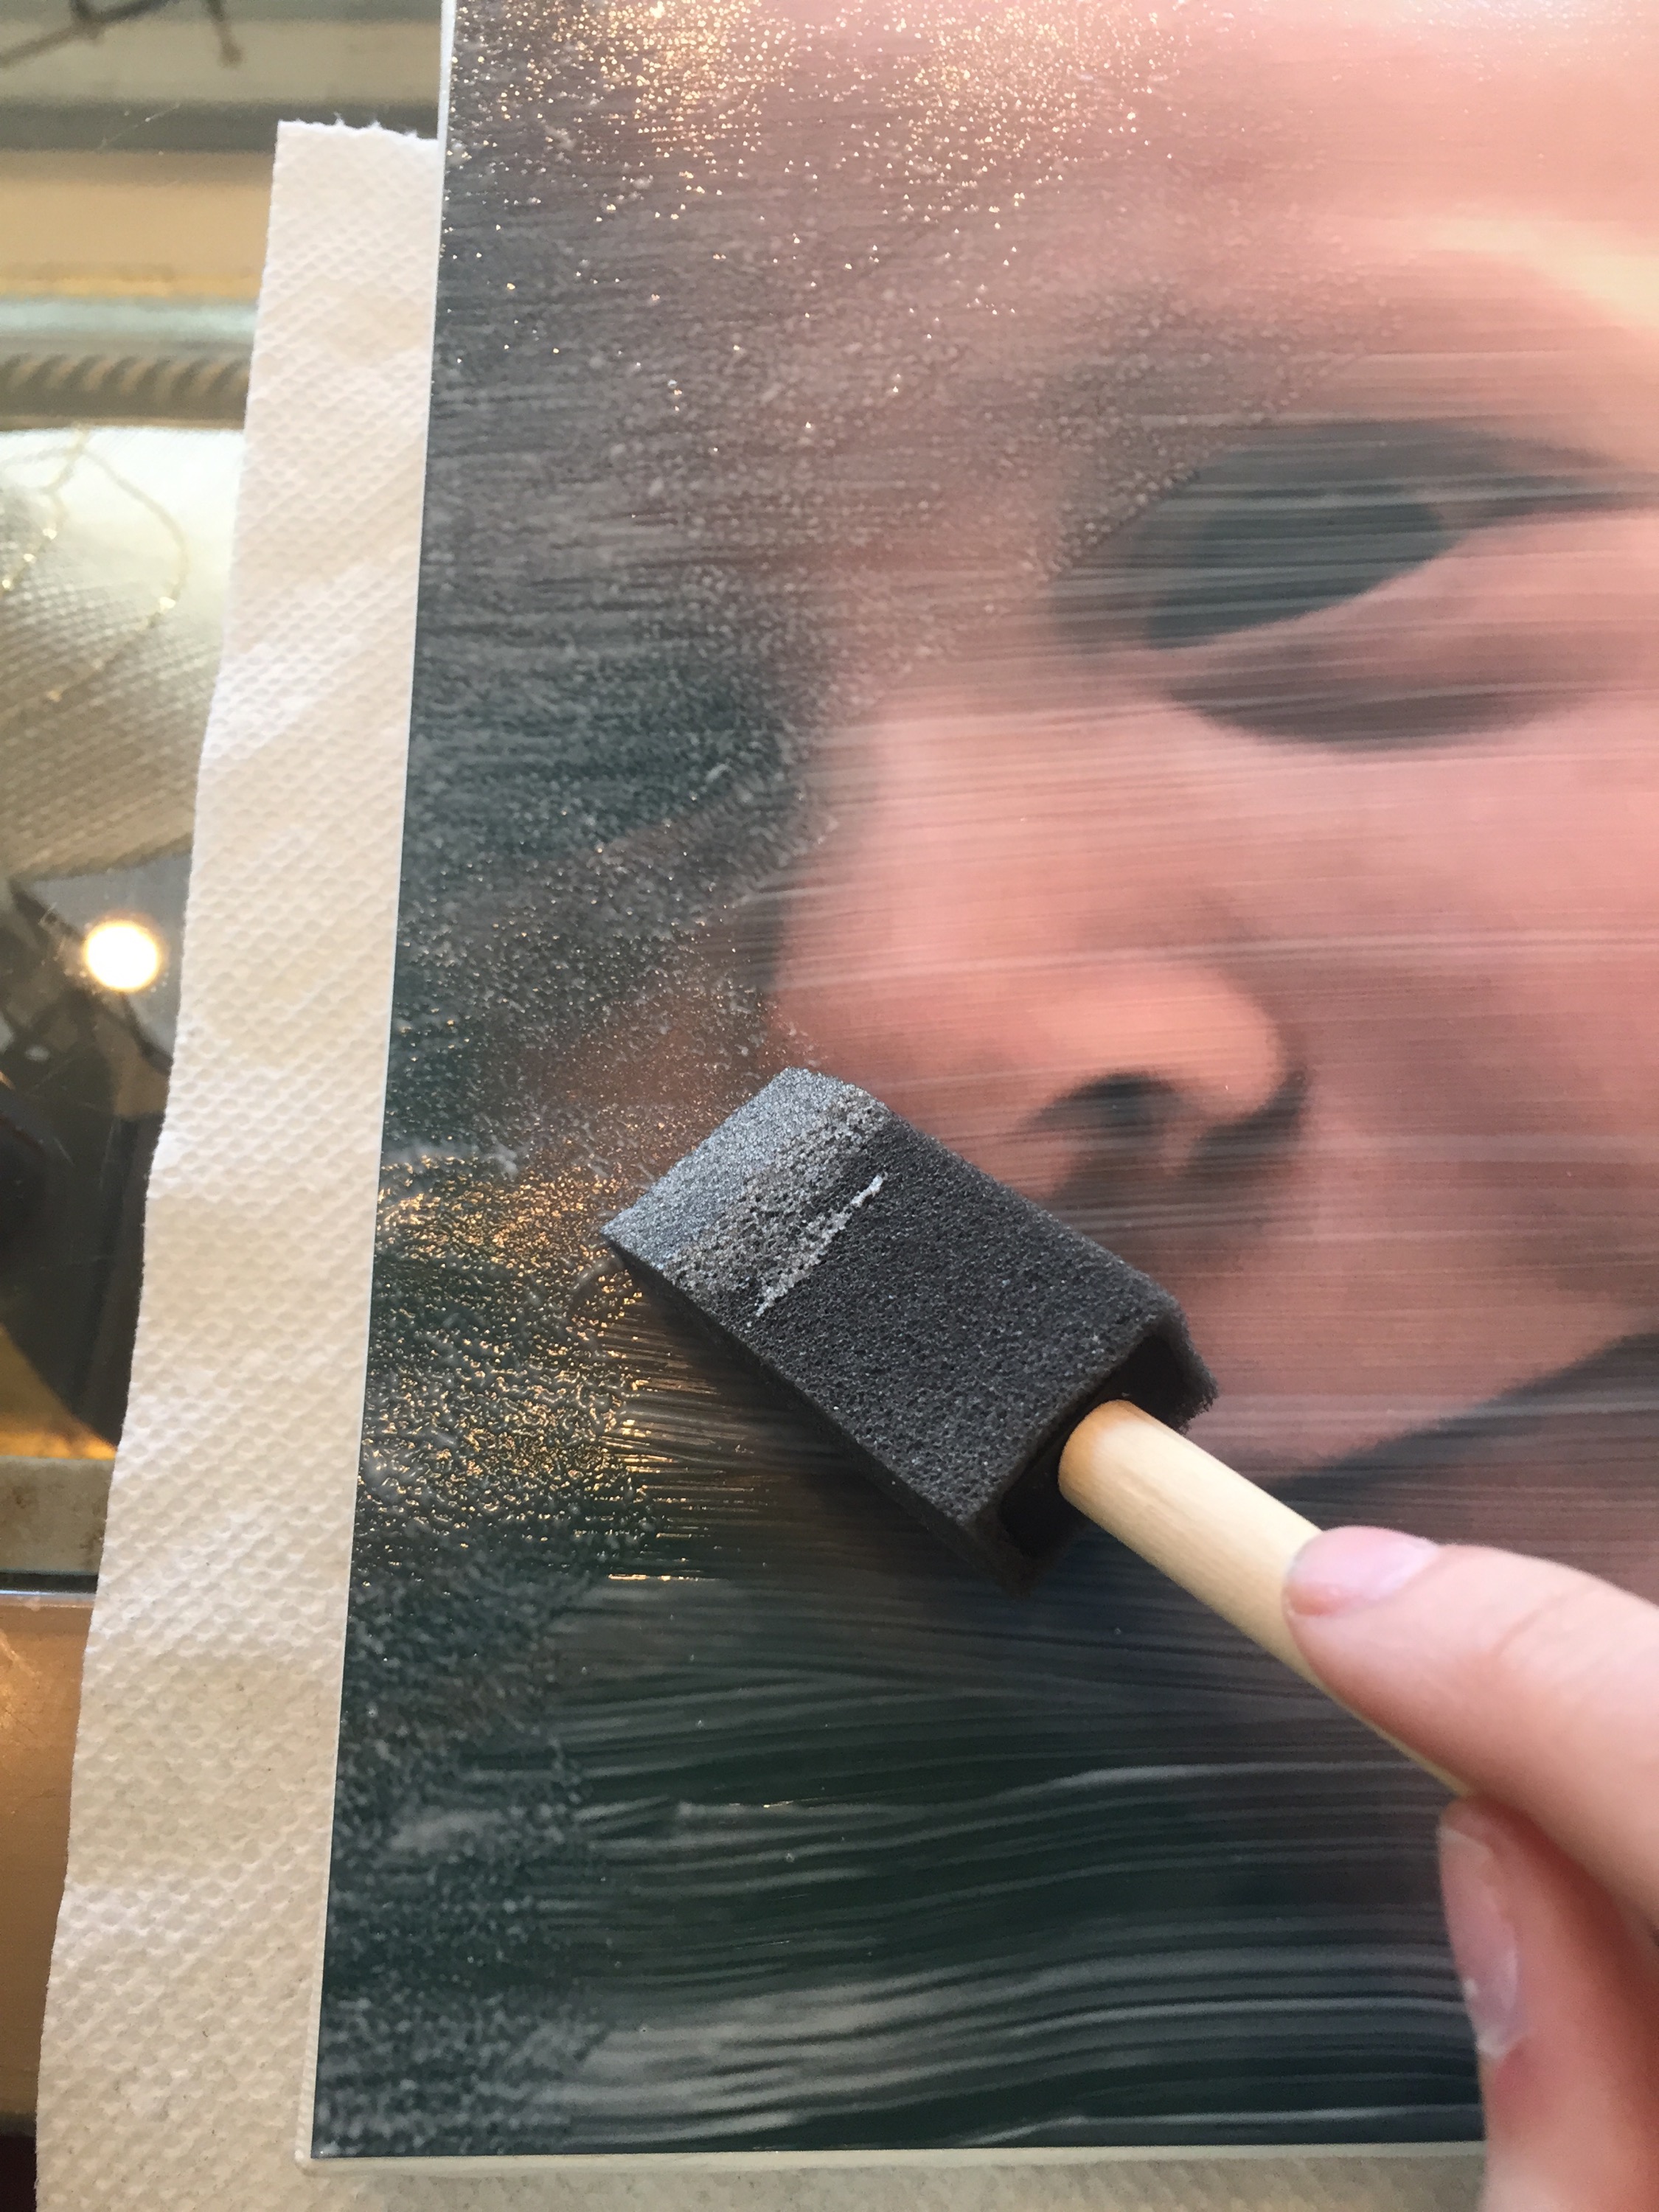
- Take your print and glue it to the canvas well. You can use a different glue so you don’t waste the Mod Podge if you want, just make sure it sticks! Once the print is glued to the canvas, cover the print with the matte Mod Podge. I know this seems scary! It won’t ruin your picture, use the foam brush and do an even, thin layer.

- Next, I took the foam brush and stippled the wet glue to give a canvas look. One Pinterest tutorial said to take another canvas and press it on top for the same effect, no thanks that goops up a whole separate canvas. Once the first layer dries, repeat this Mod Podge and foam brush stippling until you are happy with the texture.

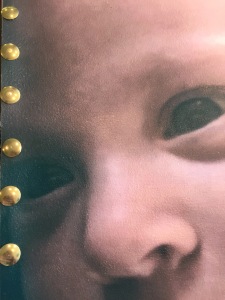
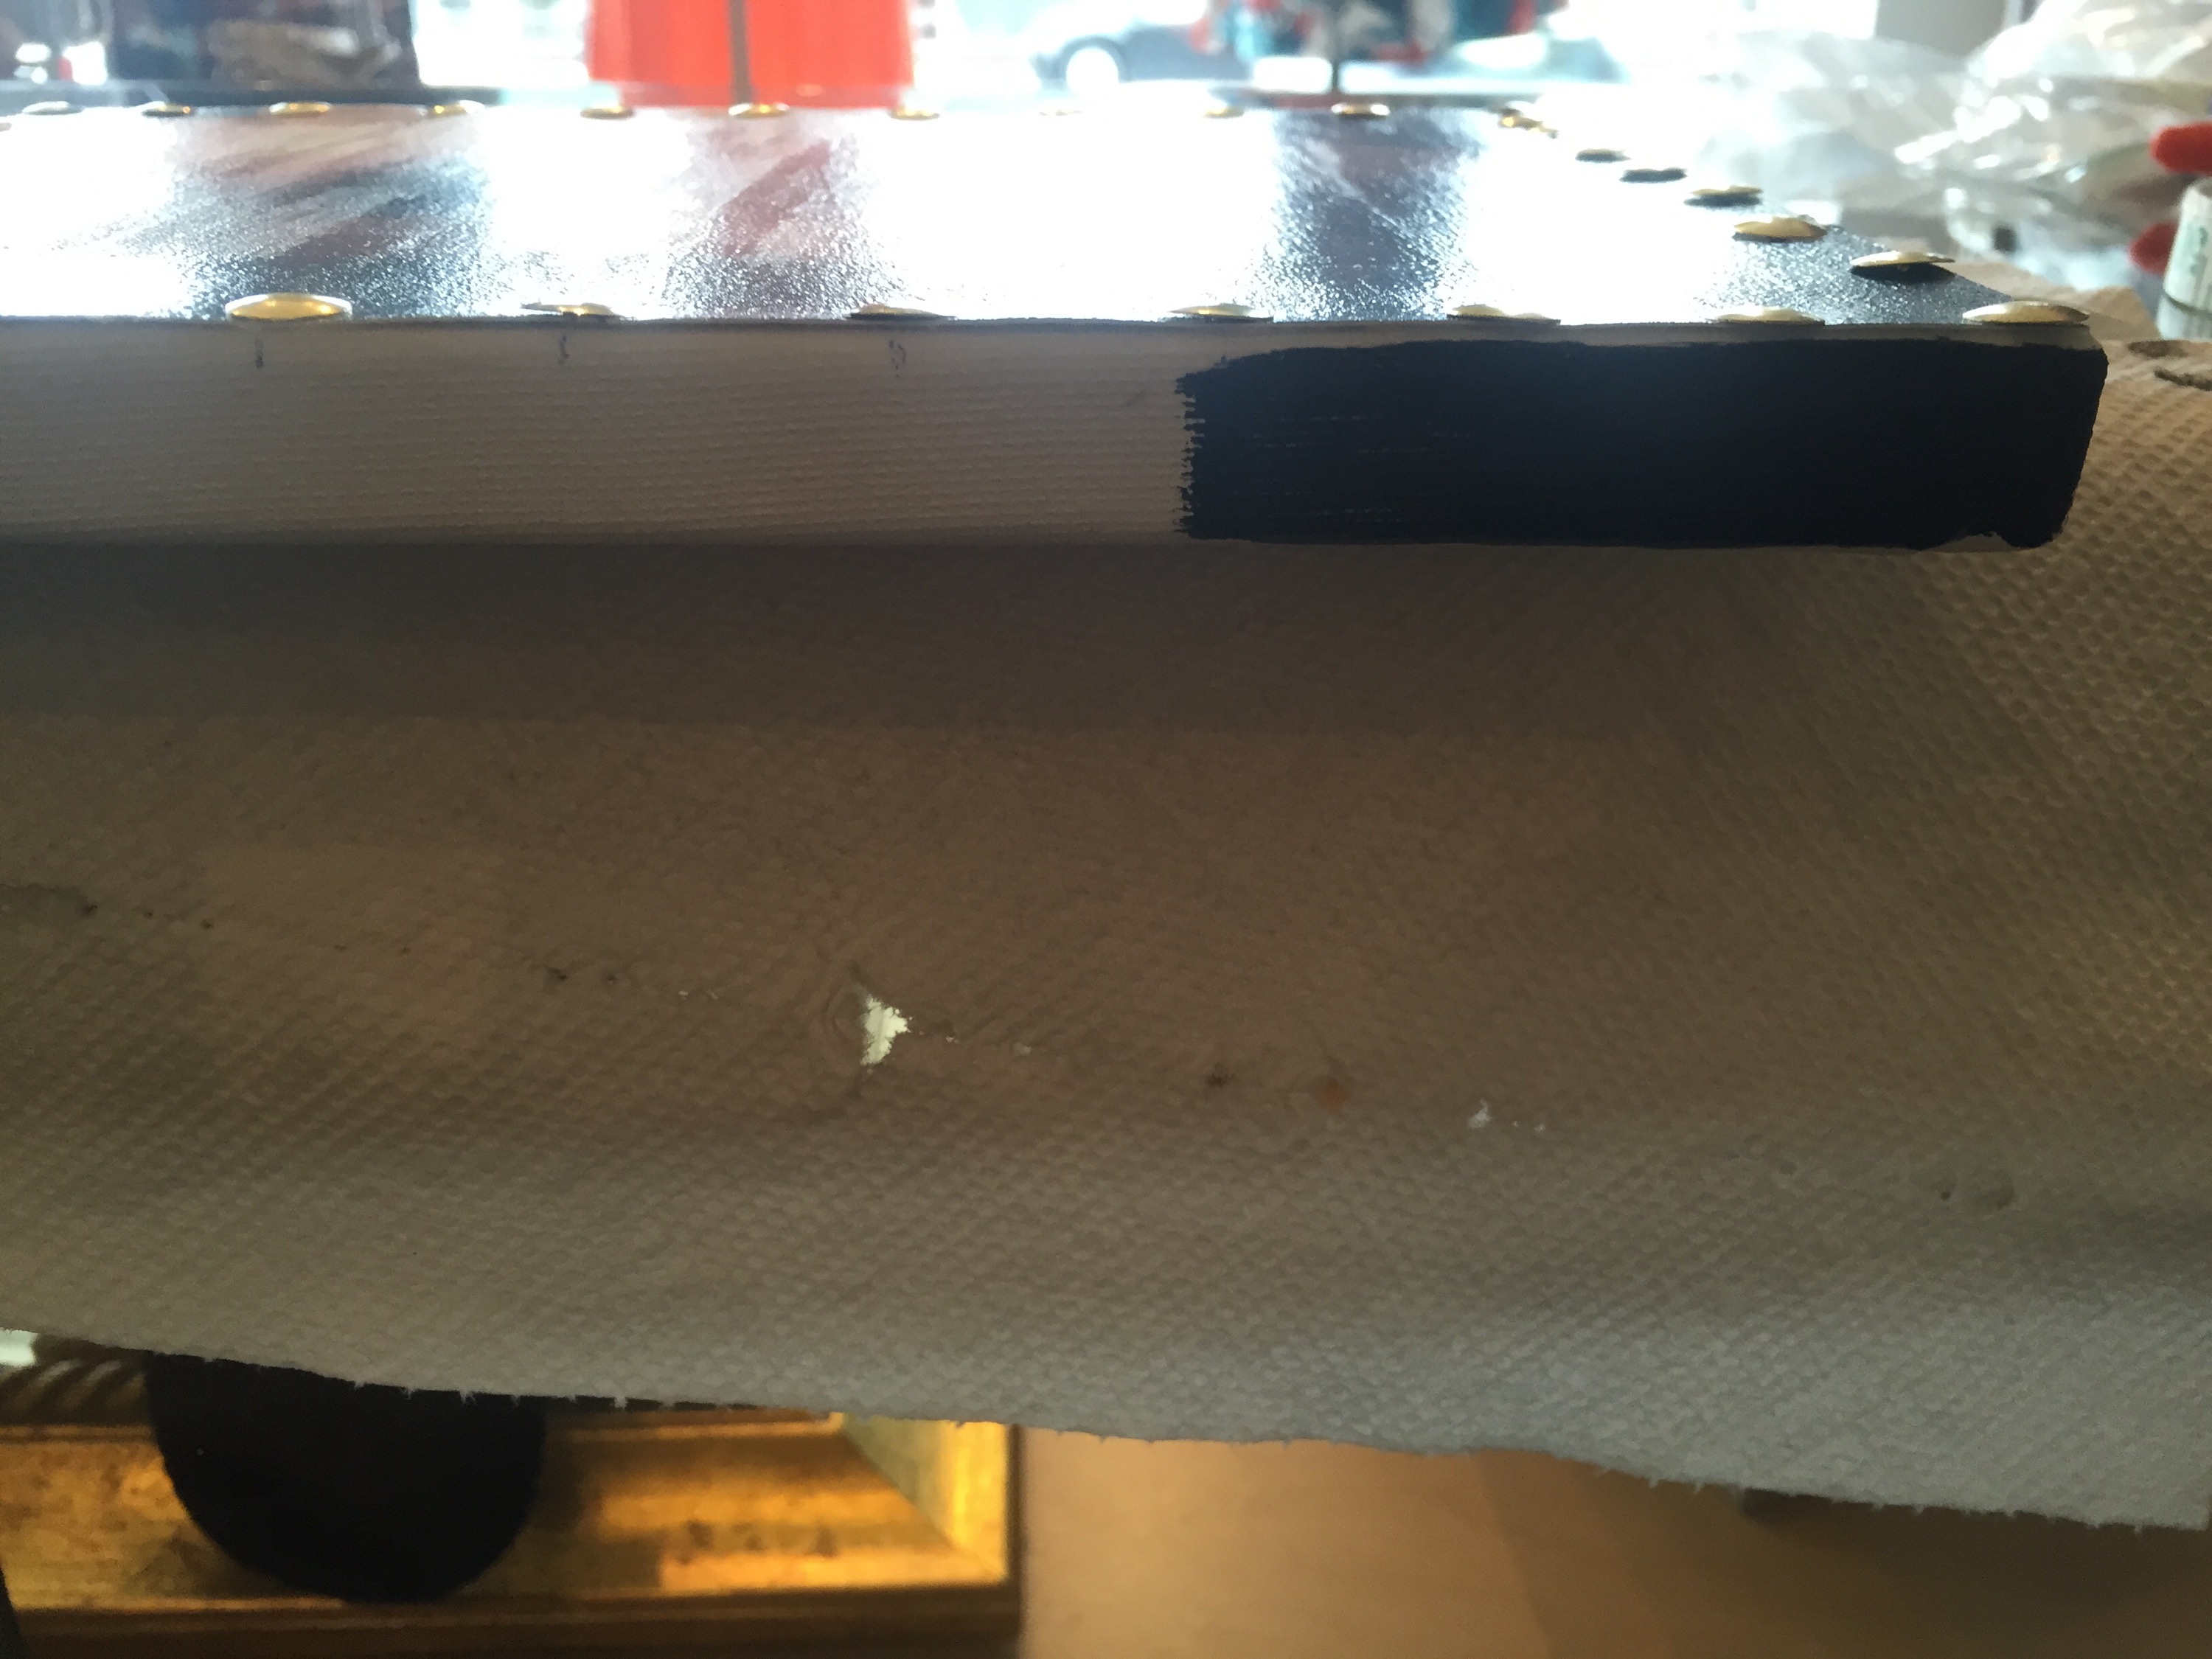
- The gold push pins were an accidental addition. I did not glue down my picture well enough and was looking for a way to make sure it wouldn’t peel off or be pulling away. I happened to have these push pins laying around and evenly spaced them and pushed them, fairly easily, right into the canvas and the wood frame of the canvas. (look at that texture!) .
- Here’s where the black paint comes in. If you don’t want a white edge, or canvas showing just carefully paint the edges, I guess it would work better if you painted them first, even before gluing down the print.

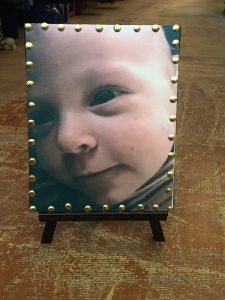
- Here’s the finished product! Who doesn’t want to hang that face on their wall!!


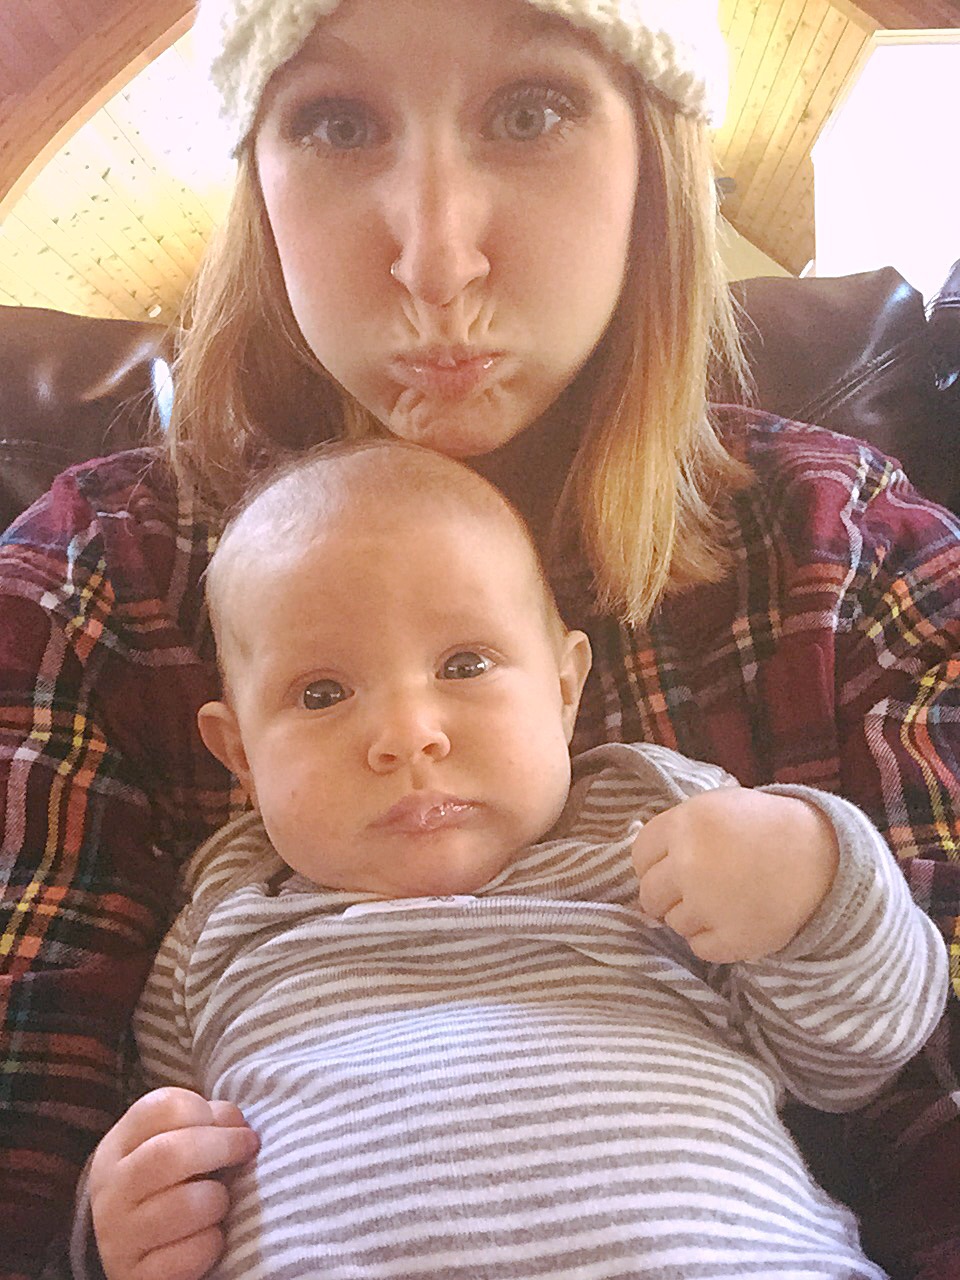
I mean, really, she looks like me right?!?!